Witam,
Na warsztacie Panzerkampfwagen II Ausf. A 1:35 (Tamiya 35292), bez waloryzacji – „prosto z pudła”.
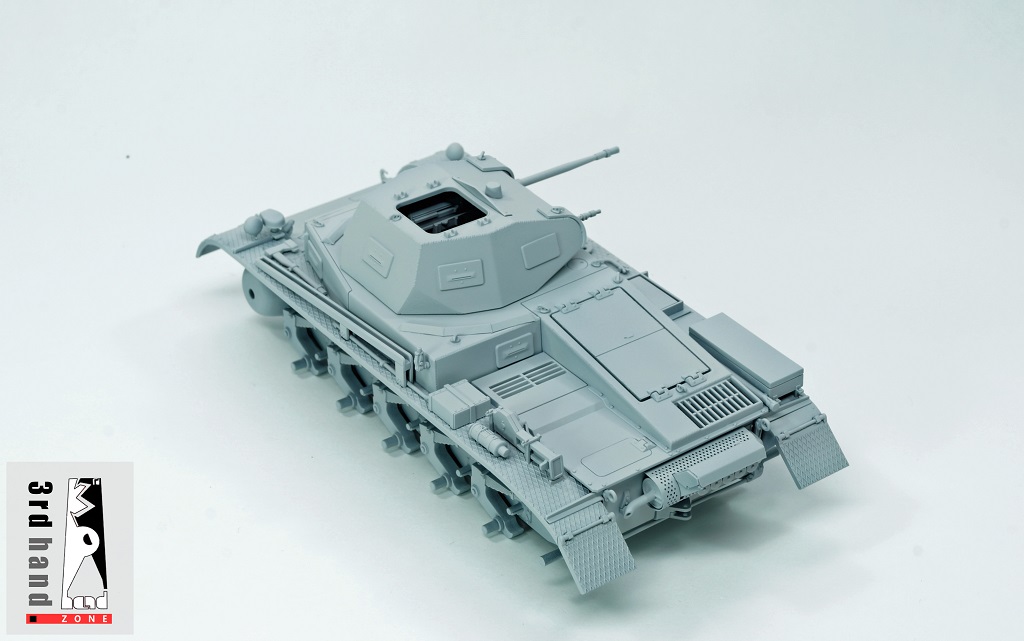
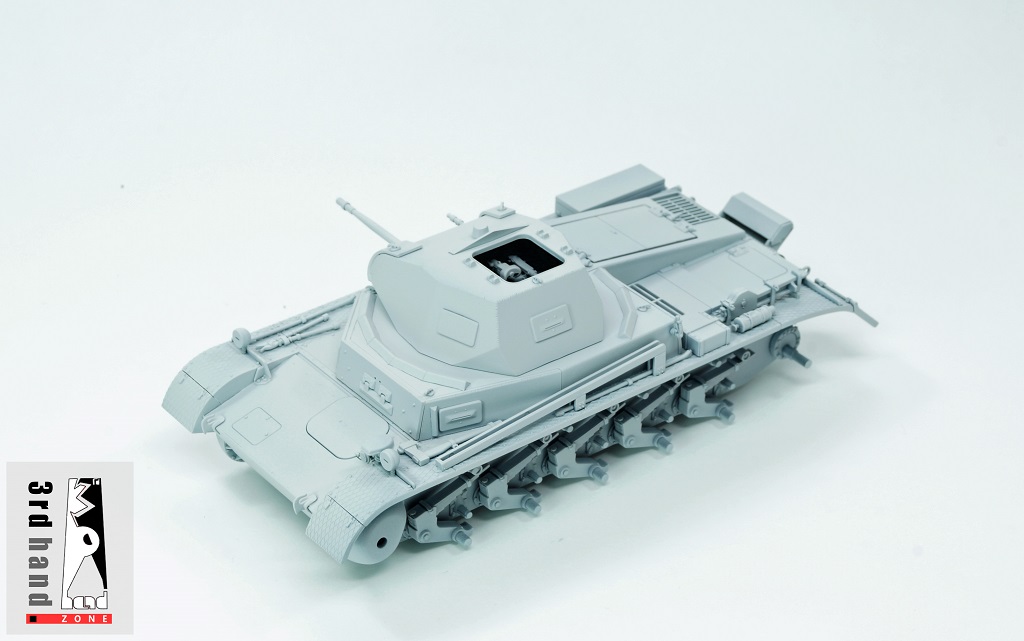
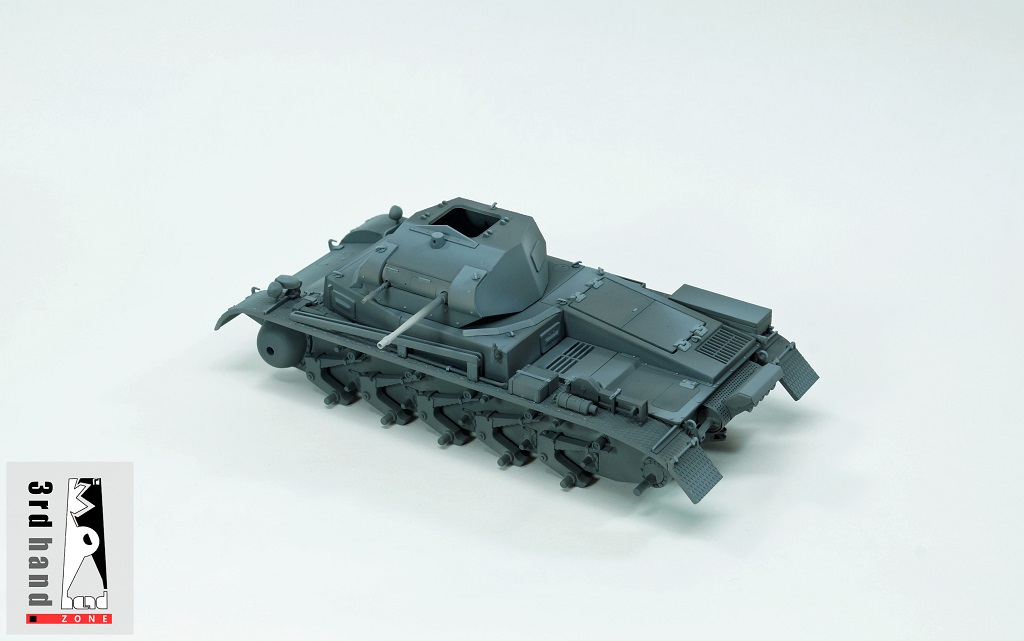
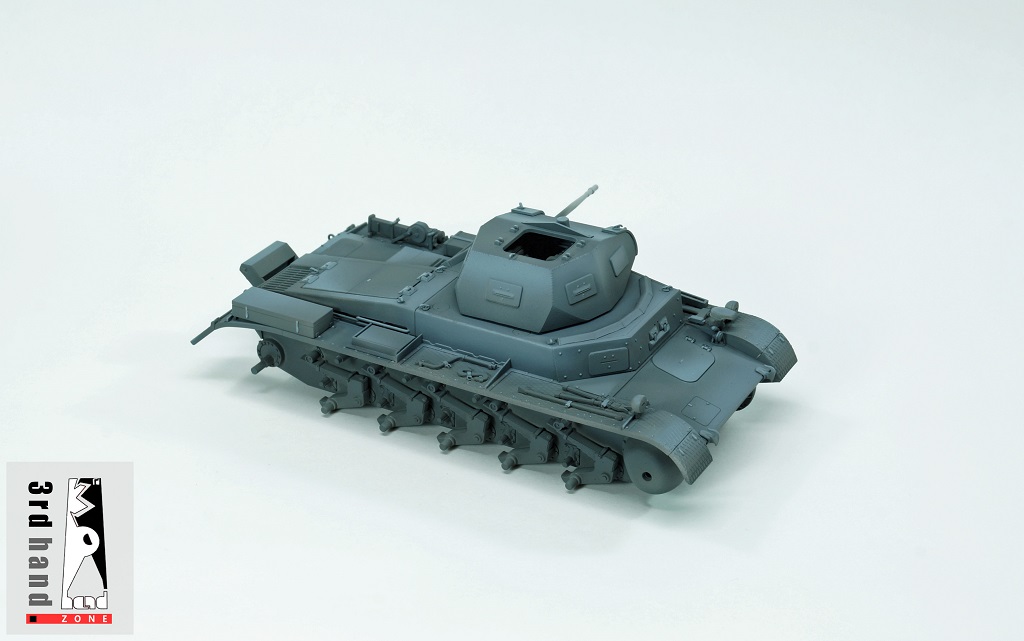
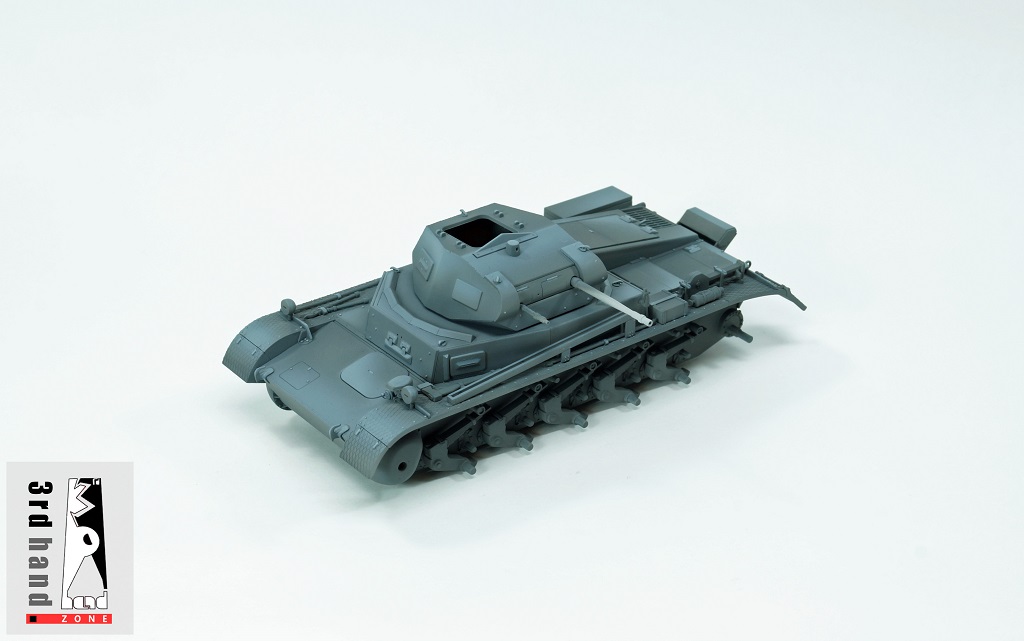
Na początek podkład. /
Hello,
At the workshop Panzerkampfwagen II Ausf. A 1:35 (Tamiya 35292), without valorization – „right out of the box”.
First of all the primer.


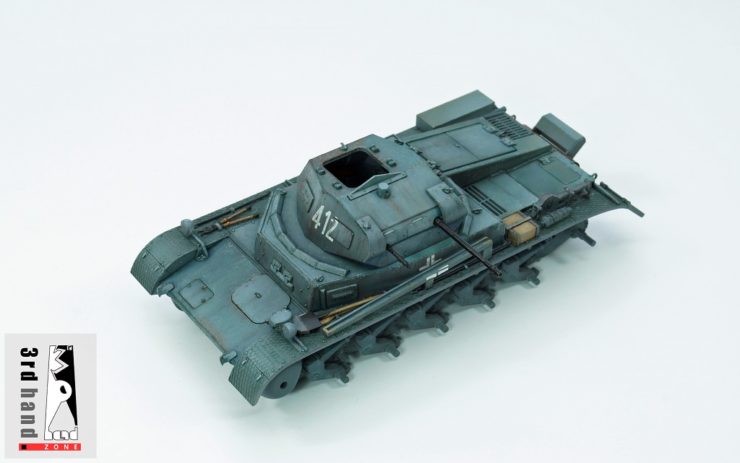
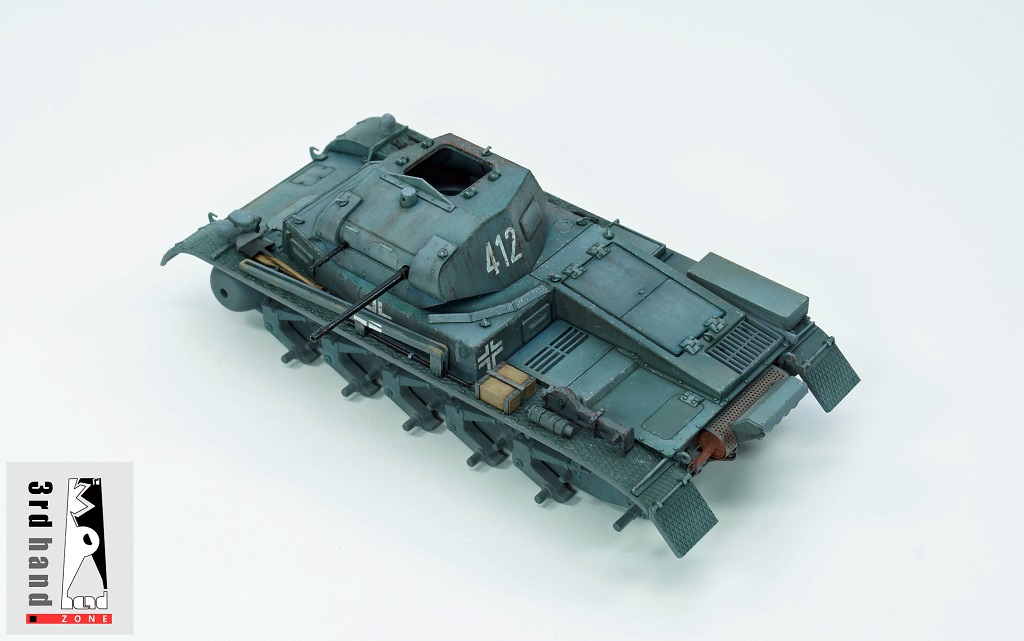
Kolejny etap to naniesienie koloru bazowego za pomocą aerografu oraz zastosowanie modulacji kolorów, z wykorzystaniem 4 jaśniejszych odcieni koloru bazowego. Niektóre szczegóły zostały dodatkowo uwypuklone, poprzez rozjaśnienie pędzlem.
In the next step, the base colour was airbrushed. After that a modulation, with 4 levels of highlights, was added. Some small detailes where highligted, by painting with a lighter tone of the base colour, using a brush .

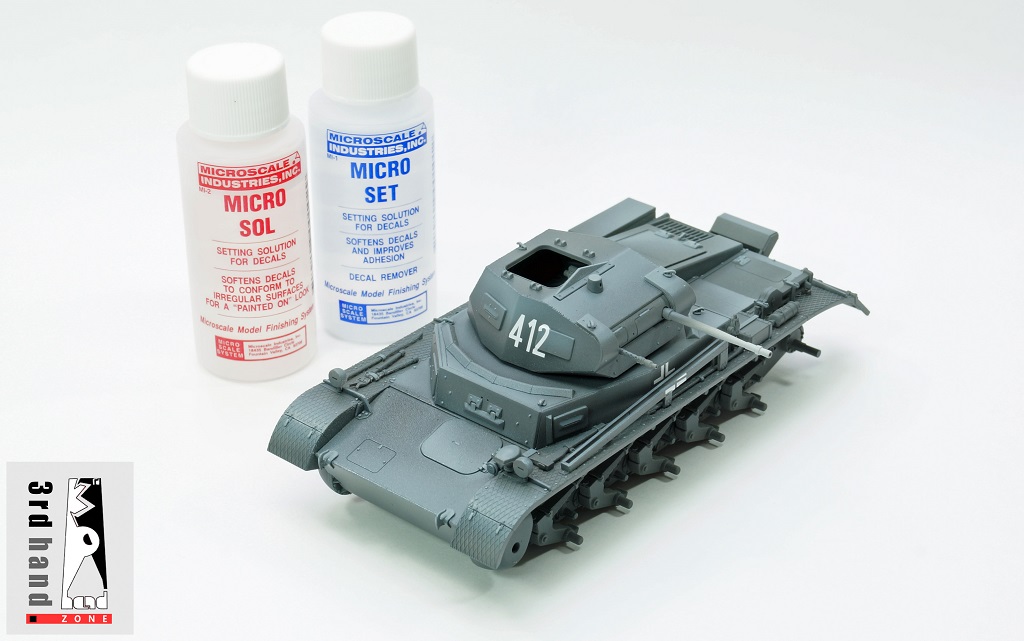
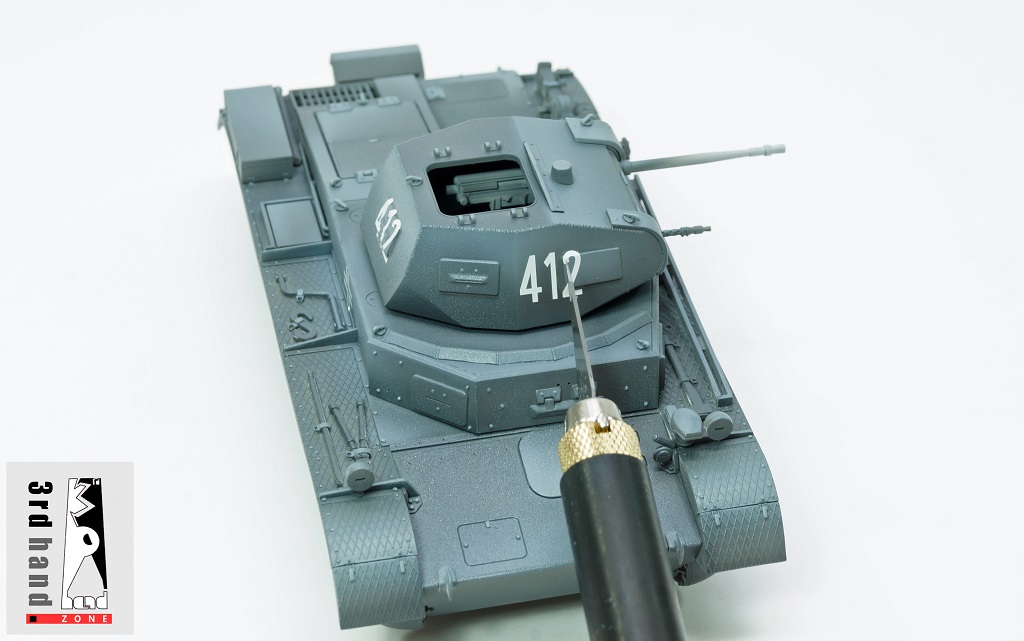
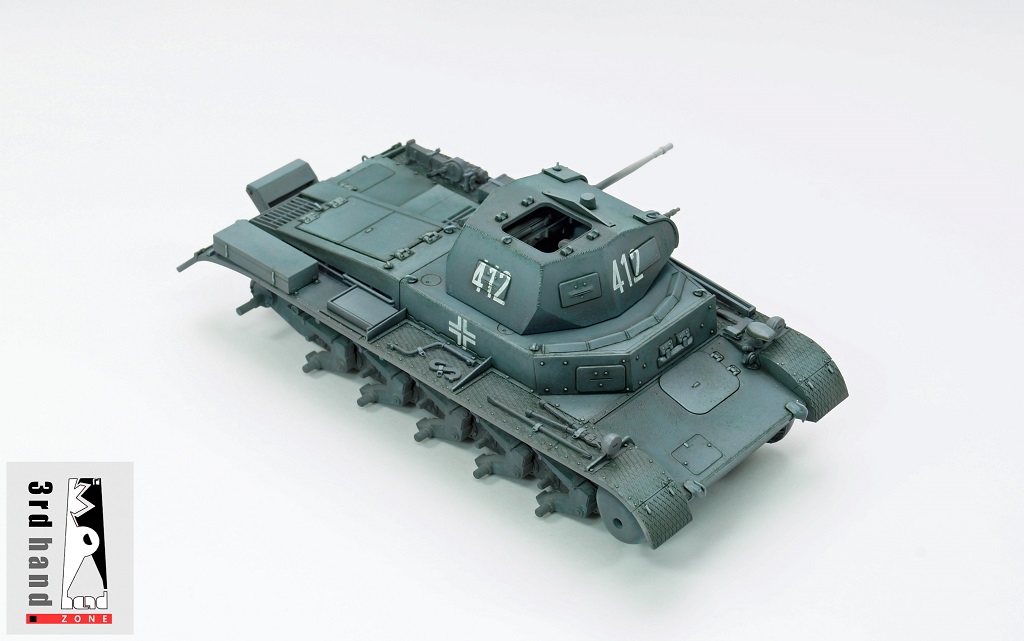
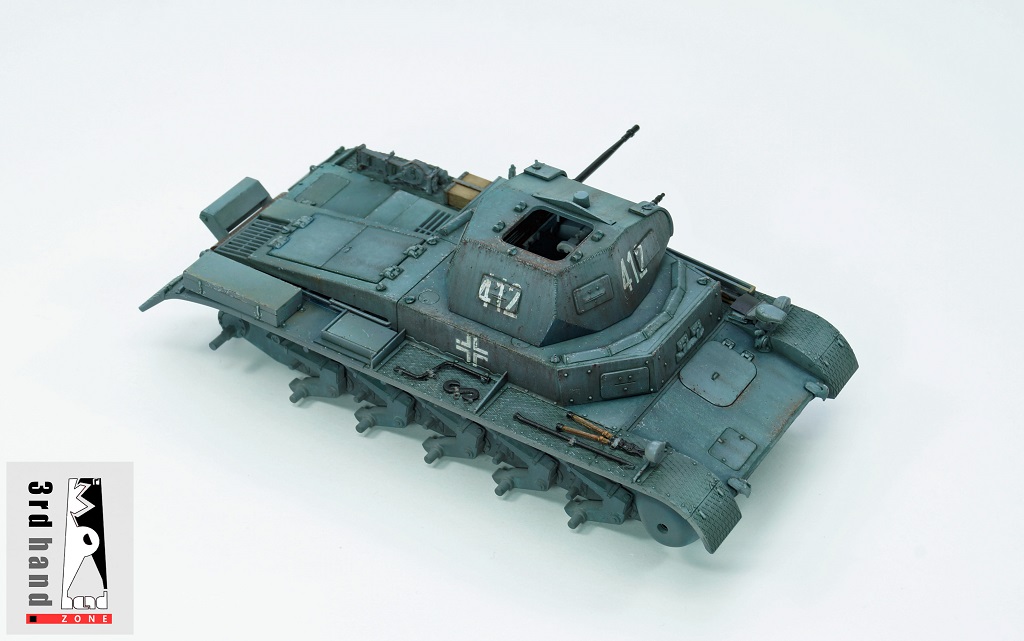
Kolejny etap to nakładanie kalek dołączonych do zestawu. Przed ich nałożeniem cały model został pokryty błyszczącym lakierem bezbarwnym (można zastosować również lakier satynowy), który ułatwi nakładanie kalek. W przypadku nakładania kalek na powierzchnię modelu o matowym wykończeniu, bardzo trudno otrzymać jednolity, zadowalający i realistyczny efekt – odradzam. Dodatkowo błyszczący lakier bezbarwny (lub satynowy) ułatwi nam dalszą pracę z farbami olejnymi, filtrami i pigmentami.
Wycięte z arkusza kalki odpowiadające naszym oznaczeniom, umieszczamy w ciepłej wodzie. Po kilku minutach kalki oddzielają się od arkusza i są gotowe do nałożenia na model. Na miejsce, w którym ma być umieszczona kalka, za pomocą pędzelka, nanosimy niewielką ilość płynu do kalkomanii (służy do wzmocnienia działania kleju oraz do zmiękczenia kalkomanii tak, aby lepiej układała się na powierzchni modelu). Po umieszczeniu kalek w odpowiednim miejscu (delikatnie zsuwamy zwilżoną kalkę, z wyciętego arkusza, pędzelkiem, na model) ponownie nanosimy niewielką ilość płynu do kalkomanii na oznaczenia. Pomoże nam to pozbyć się ewentualnych pęcherzyków powietrza, pod powierzchnią kalki i ostatecznie ją wyrównać. Tak naniesione kalki należy pozostawić, na modelu, na około 12 godzin. Po tym czasie można poprawić ewentualne niedociągnięcia.
The next step is to apply the decals supplied with the kit. Before applying them, the entire model is airbrushed with a gloss varnish (satin varnish can also be used) to facilitate the application of the decals. In case of applying the decals onto the surface with a matt finish, it is very difficult to obtain a uniform, satisfactory and realistic effect – I don’t advise it. In addition, the gloss (or satin) varnish will make it easier for us to work with oil paints, filters and pigments later on.
Cut the sheet of decal paper corresponding to chosen markings and put it in warm water. After a few minutes, the film will separate from the sheet and will be ready to be applied to the model. At the spot where the decal is to be placed on the model, using a brush, apply a small amount of setting solution for decals (it is used to enhance the adhesive and soften the decal so that it settles better on the surface of the model). Once the decal have been placed correctly on the model (gently slide wet decal, from the sheet of decal paper, onto the model, using a brush) , apply a small amount of setting solution to the decal, to seal it. This will help to get rid of possible air bubbles below the surface of the decal and eventually level it up. Leave the decals with the setting solution on the model for up to about 12 hours. After this time you can correct any shortcomings or air bubbles.
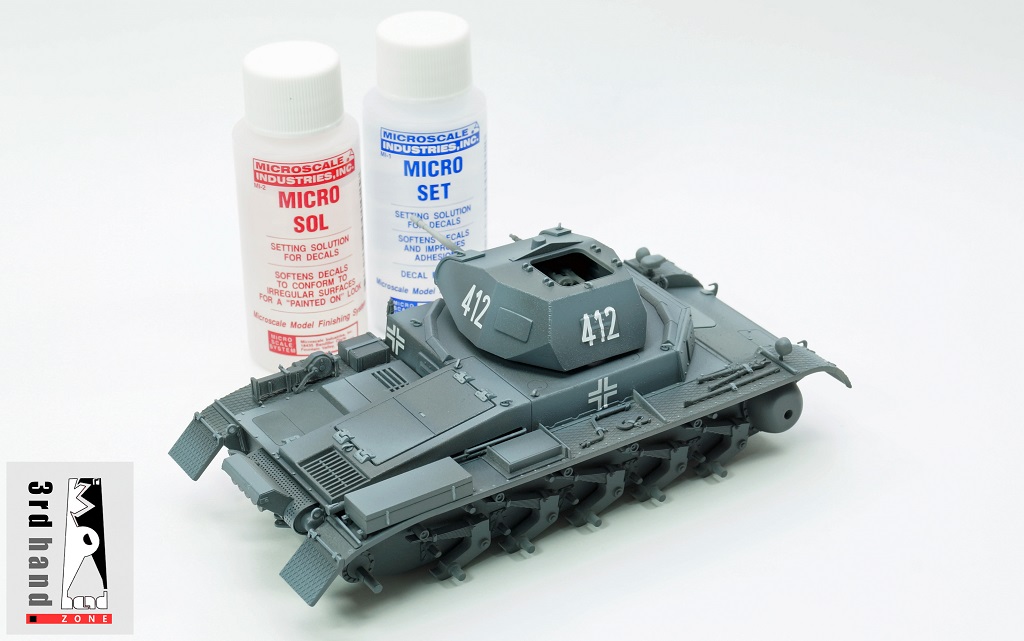
Jeśli po zastosowaniu płynu do kalkomanii, efekt w dalszym ciągu jest niezadowalający, ostrym ostrzem delikatnie przebijamy kalkę w miejscu powstania pęcherzyków powietrza lub nacinamy miejsca, w których kalka jest widocznie naprężona – najczęściej w punkcie nakładania się różnych powierzchni (np. włazy lub wizjery na wieży). Po tych zabiegach powtórnie nakładamy płyn do kalkomanii. Czynności te można powtarzać wielokrotnie do uzyskania zadowalającego efektu. NALEŻY PAMIĘTAĆ, że każdorazowe użycie płynu do kalkomanii osłabia jej strukturę i w rezultacie może doprowadzić do jej zniszczenia.
If, after the application of the setting solution, the effect is still unsatisfactory, use a sharp blade to gently pierce any air bubbles or cut the areas where the decal film is visibly stressed – mostly at the point of overlap of various surfaces (for example hatches or viewfinders on the turret ). After these treatments we apply the setting solution once again on to the decals. These actions can be repeated many times to achieve a satisfactory effect. PLEASE REMEMBER that every time You use a setting solution for decals, it weakens the structure of the decal and can eventually destroy it.

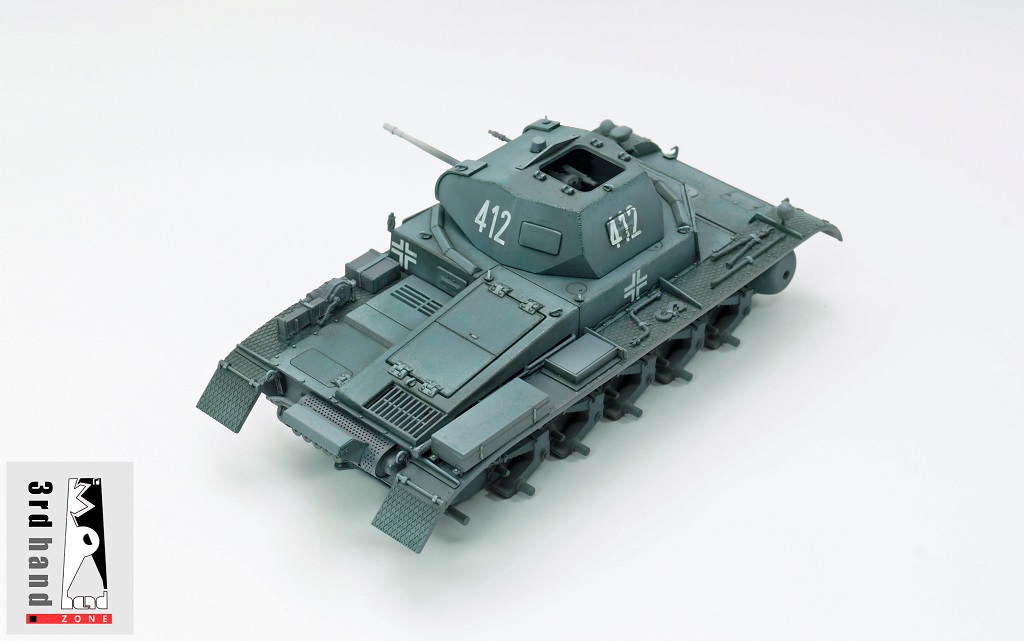
Teraz model jest gotowy na kolejny etap – nakładanie filtrów i „wash”.
Now the model is ready for the next step – adding filters and washes.
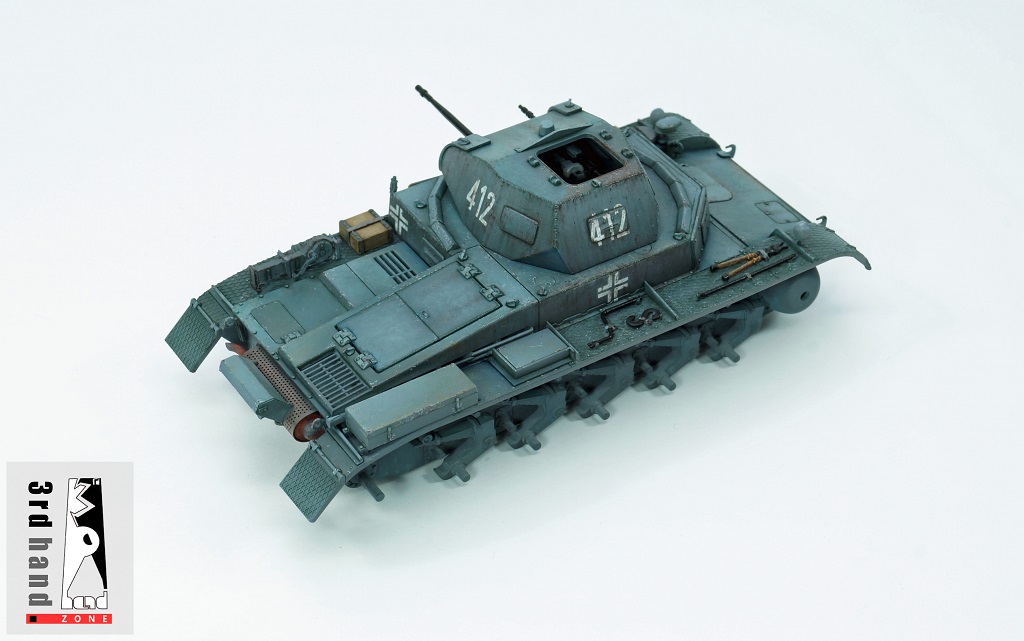
Używając szarego filtra, na bazie szarej farby emaliowej (1 farby:10 rozpuszczalnika) i pędzla cały model zostaje pokryty cienką, prawie przezroczystą warstwą farby. Filtr pomaga łagodnie połączyć kolor bazowy, rozjaśnienia i nałożone kalki oraz nieco zmienić ich ton. W kolejnym kroku na model nałożony zostaje tzw. „wash” na bazie farby emaliowej w kolorze zielonym (2~3 farby:7~8 rozpuszczalnika). „Wash” dodaje cienie i odmianę w tonacji kolorystycznej, a w rezultacie podkreśla szczegóły modelu. Po kilku minutach, gdy „wash” wyschnie w dotyku, jego nadmiar zostaje usunięty za pomocą małego pędzelka i bezbarwnego rozpuszczalnika (pędzel powinien być zwilżony, a nie umoczony w rozpuszczalniku – nadmiar należy usunąć za pomocą chusteczki lub papierowego ręcznika).
Using an enamel grey filter (1 paint:10 white spirit) and a brush, the entire model is covered with a thin, almost transparent layer of paint . It helps to blend the base colour, highlights and decals and slightly change its tone. Afterwards a green enamel wash (2~3 paint:7~8 white spirit) is applied on to the model to add shadows and tonal variations and in result highlight the details on the model, even more. After a few minutes when the wash has dried to the touch, its excess is removed using a small brush and some white spirit (the brush should be wetted with white spirit and not soaked with it – use a napkin or a paper towel to remove the excess).

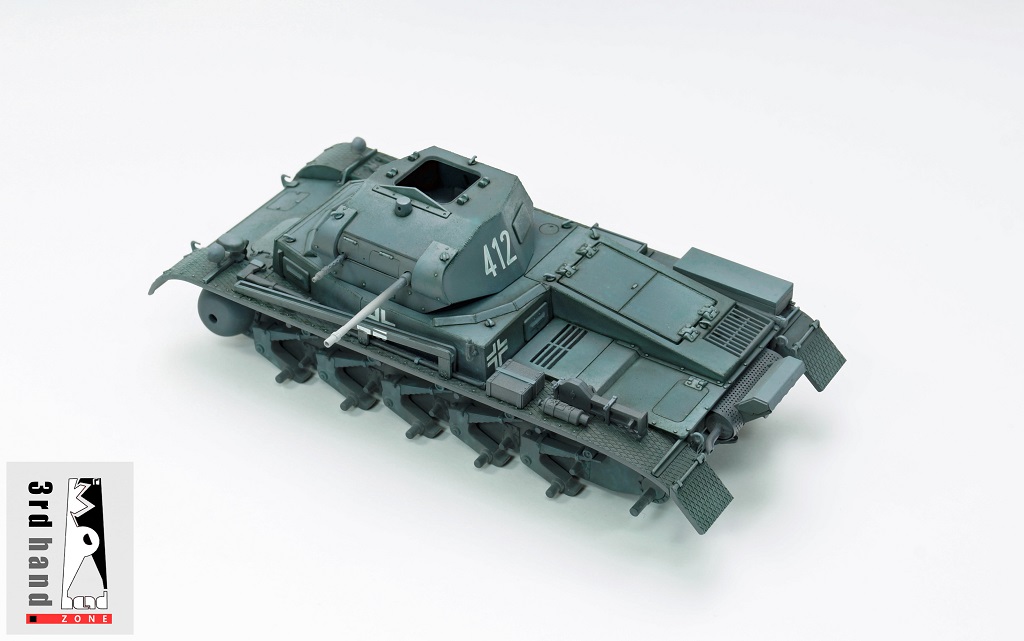
Teraz model jest gotowy na kolejny etap: uszkodzenia, zacieki i płowienie.
Now the model is ready for the next step: chipping, streaks and fading.

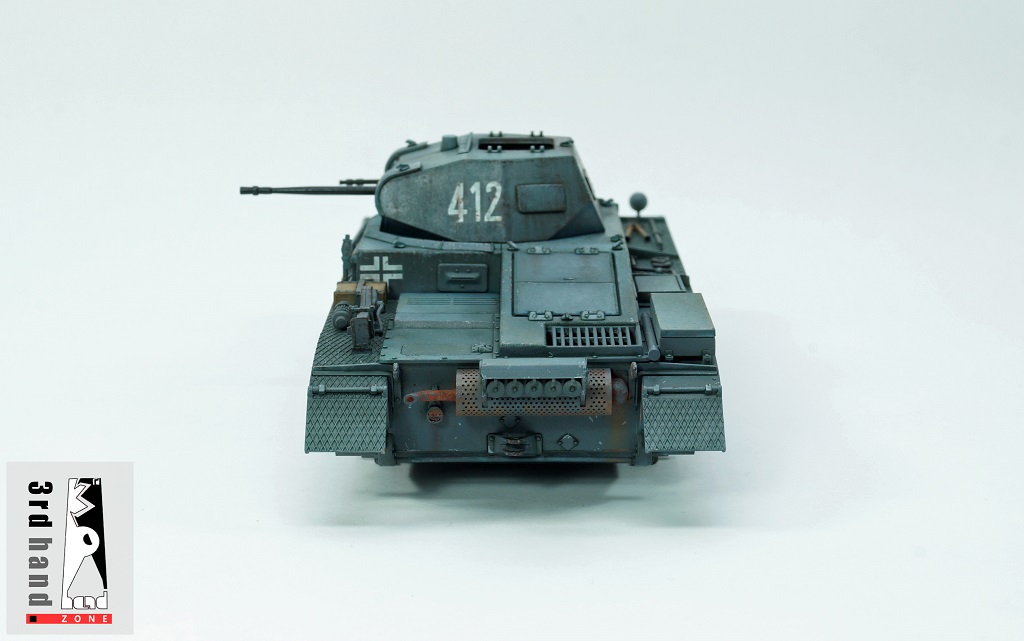

Po tym etapie model jest gotowy na zabrudzenia i pigmenty.
With that out of our way the model is ready for weathering and pigments.
Pozdrawiam,
Jakx
Regards,
Jakx